Get More People on Your List by Creating a Quiz (In 30 Minutes or Less!)
Quizzes are so hot right now. Think of all those quizzes from Buzzfeed that fill your night. Wondering what kind of Starbucks drink you are. Finding out what type of home you should buy based off how you would make a burger. That stuff is deep.
Well, let’s use that quiz fever for good, shall we? Let’s provide value (gasp!) and grow our lists at the same time (double gasp!). Earlier this week we debuted our first quiz, Find Out Your Productivity Spirit Animal. Today, we’re walking you through how to make your very own quiz step-by-step.

To make our quiz, we used a software called Try Interact. It is super easy and quick to go from idea to full blown quiz in minutes using this tool. First, you want to go ahead and create your account over here to get started.
Once you’re logged in, you have the option to choose one of their many templates or create a quiz from scratch. We’re showing you how to make your very own today, so go ahead and select that option.

Then you have to decide where you’re going with your quiz. What kind of response do you want from your quiz? What do you want people to know? For our first quiz, we selected the “Personality” type

Once you select your type, it’s incredibly easy to customize and create the rest of your quiz. Let’s start with the “homepage” of your quiz. This is what people will see before they start taking your quiz. You simply click into the text boxes to change the text or click into the image box to add or change the image (we’ll show you what our final homepage looks like a bit further down).

You’ll also notice a sidebar on the left where you can further customize what your quiz looks like. Everything from your font to the colors you use can be edited here under “styles”.

After you’ve changed any of that up, let’s focus on the images. Quizzes with pictures perform waaayyyyy better (that’s an actual measurable stat) than quizzes without. With Try Interact you don’t even need to worry about taking your own pictures for your quiz. They’ve partnered up with Pixabay, so you can choose from loads of stock images for free. Simply search some keywords and scroll to find one you like.

Of course, you can always upload your own images (or ones you have rights to) by clicking “upload”. That’s what we decided to do for today’s demonstration.

As you can see, we’ve added a new image and edited the Title and Description. Keep it simple!

Once you have your quiz “homepage” edited and done, it’s time to build the meat of your quiz. A quiz is broken down into two pieces: questions and results. We recommend that you start by filling all your results in first. You can select to add a new results over on the left hand sidebar under “content”.
This result is what they see once they answer all your questions and pop in their email to get the results. Think of this page as the “thank you page” once someone opts in, but it’s going to be custom based on their answers.
Pro tip: don’t make your quiz over complicated. Keep it to 3-7 questions with 3-4 different results.

You edit the results pages just like you did the homepage. Simply click in the boxes to change the text, image and color. You’ll see our edited version below.

Since your quiz takers popped in their email in order to get their results, feel free to make this page pretty meaty. Also, consider what you want them to do once they get their results. Do you want them to buy your product? Go read your blog? Book a consultation? Have that be your call-to-action on each results page.
Once you get your first result done, go through and complete the rest of your results before moving on.
Now, we’re on to the questions. Remember to keep this simple and try to stick with 3-7 questions for your quiz. You also don’t have to overcomplicate the questions. Remember that you get to decide the answers and results!
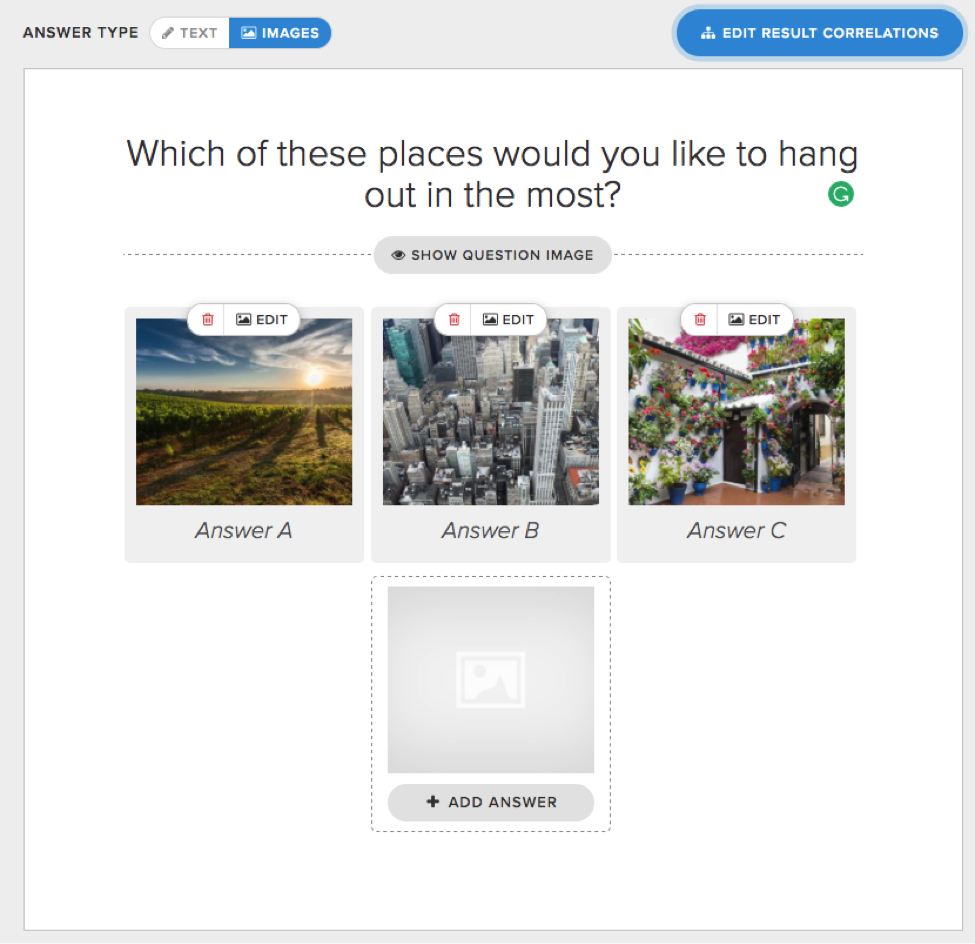
You have a couple of different options for how your question page looks. You can have a header image (like on your homepage), you can have no header and do images for each answer, or you can have both. Totally up to you!
For this example we decided to go with no header and just images on the answers. You can toggle back and forth by clicking “text - images” at the top and clicking “show or hide question image”.

Now you have to go through and tell the software which results correlate with which answer. You simply click the answer, then click the correlating result.

Pssssst….as of this time the correlations won’t stay on the screen as you select down the list. It will clear on the screen when you go to choose the next correlation. It’s still saving it! The developers are working on this right now, because it does look confusing.

Okay, so once you have all of your results and answers written and correlated, it’s time to finish this baby! Over on the left hand sidebar you’ll notice at the top it says “connect integration”. This is where you’re going to connect it to your email service provider so you can collect all those juicy emails.
Simply click “connect” next to your email service provider to start the process.

We use ConvertKit so this is what our setup page looks like. In order to actually integrate you have to select a sequence for your results to be connected to. We personally built our quiz before we wrote the sequences, so we had to pause and go do that real quick in Convertkit so we could make sure we selected the right one.
Your email sequence is going to be what you send that quiz taker after they finish your quiz. Typically, you’ll have a sequence for each result (this is why you don’t want too many). In this example it might make sense for us to have three sequences for each chair result from our quiz.
This sequence can be whatever you want. Once you sign up for Try Interact they have some great blog posts on what your sequence can be (including what days to send).
Once you select the sequence you will be able to save and continue.

Then you’ll move to this page where you get a green button that says “connected”. You don’t need to change anything on this page other than making sure everyone is getting the correct sequence.

So where do people put in their email to even get added to your list? Once they answer all the questions in your quiz it will automatically take them to this page (that you can edit). Once they type in their email on this page their results page will pop up (and they’ll also be added to your list and sequence that you selected).
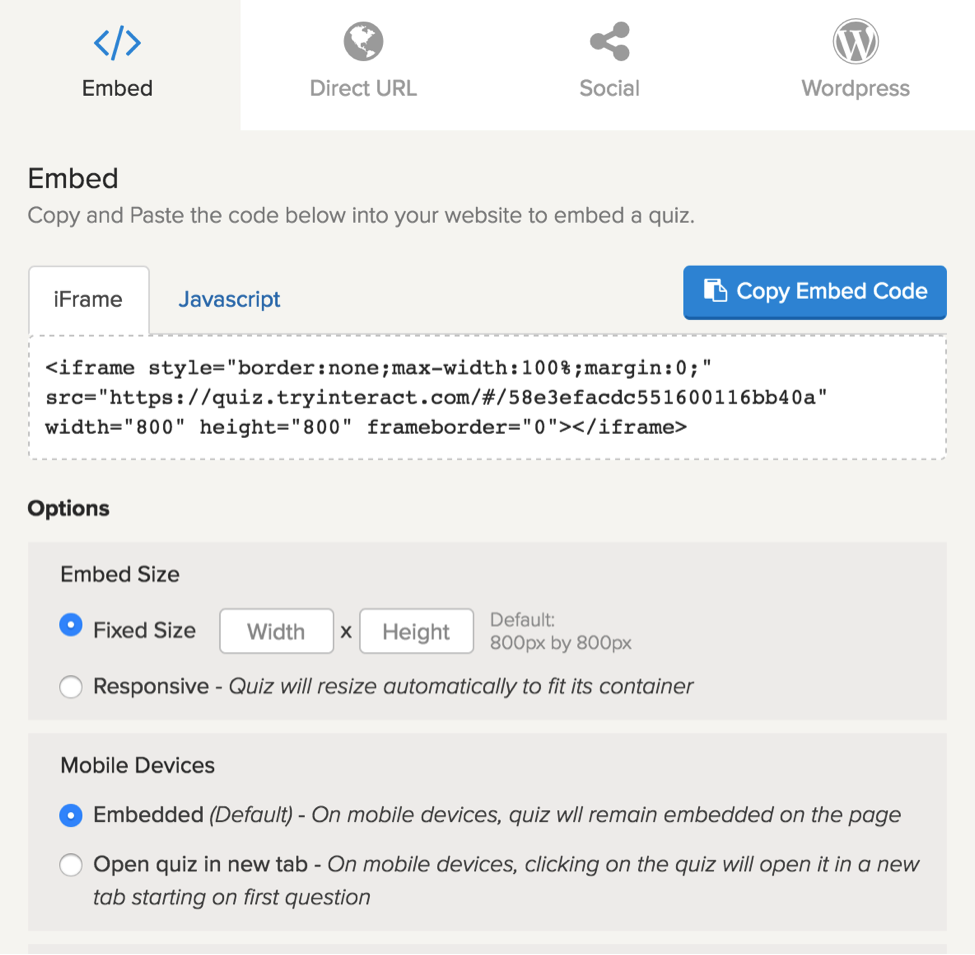
Once you have your quiz ready to go you can always test it first by hitting “preview”. You’ll also see a lightning bolt icon that will allow you to publish your quiz in a few ways. You can either grab the embed code to embed it on a page on your site, grab the direct URL, embed to WordPress or share directly on social media channels.

There are a couple of bonus features that you can utilize inside your quiz builder. You have the option of turning social share buttons on or off and directing people where to go if they do share it.
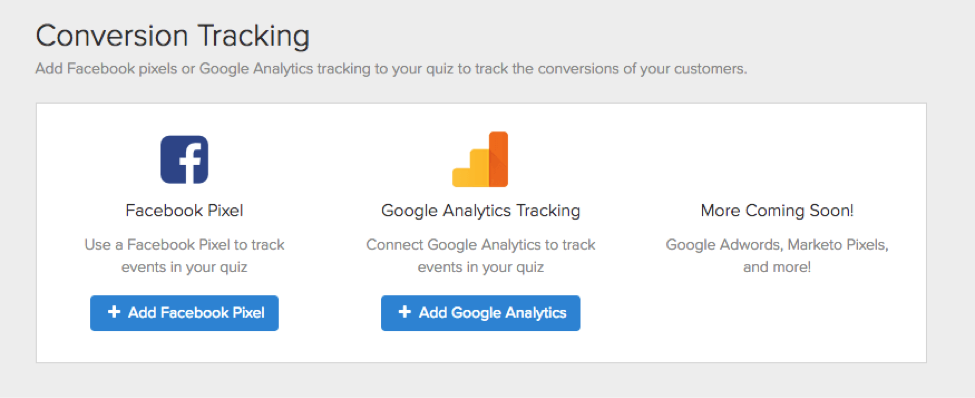
You also have an option to add a Facebook Tracking Pixel or track via Google Analytics. This would be super helpful if you ever wanted to send an ad to the people who have taken your quiz or gather more information about them.
Whew! That was pretty painless. Now you’re all set to go create a quiz for your audience. Keep it simple, add value and have fun. Go set up your account right now to get started.
This post contains affiliate links.